Wednesday, November 20, 2024
Transform an Empty Corner Into a Lean-To Shed with These Simple Plans

Transform an Empty Corner Into a Lean-To Shed with These Simple Plans
Tired of clutter piling up? Wish you had a little extra storage space, but lack the budget or expertise for a full-blown shed construction? Then consider transforming that neglected corner of your yard into a practical and attractive lean-to shed! This project, achievable even for novice DIYers, offers a surprisingly spacious storage solution with minimal materials and effort. Follow these simple plans and watch your empty corner blossom into a functional addition to your property.
Planning Your Lean-To Shed
Before you grab your tools, careful planning ensures a successful project. First, choose your location wisely. Consider proximity to your house for easy access, existing structures that can serve as support, and adequate sunlight for drying materials if necessary. Next, determine the dimensions. A lean-to's size depends on your storage needs and available space. Sketch a simple plan, noting the desired length and width, along with the height at the peak of the roof. Finally, acquire necessary permits. Local building codes vary; check with your municipality to confirm if permits are required for your lean-to shed project and acquire them before commencing construction.
Gathering Your Materials
This project emphasizes simplicity and affordability. Your material list will include pressure-treated lumber for durability, roofing materials (consider asphalt shingles for ease of installation), screws or nails, concrete blocks (or alternative anchoring system) for the base, and a level to ensure a stable structure. Don't forget essential safety gear like safety glasses and work gloves! A detailed list, based on your shed's dimensions, should be compiled before heading to your local hardware store. Remember to consider the weight your lean-to will bear â€" selecting robust materials is crucial for longevity.
Detailed Materials List (Example for a 6ft x 4ft Shed):
- Four 6ft pressure-treated 4x4 posts for the base.
- Six 6ft pressure-treated 2x4s for the frame.
- Several 6ft pressure-treated 2x4s for roofing support rafters.
- Plywood or OSB sheeting for walls (optional).
- Asphalt shingles or other roofing material.
- Concrete blocks or other anchoring system.
- Screws or nails, appropriate for the wood type.
- Level, measuring tape, saw.
Step-by-Step Construction
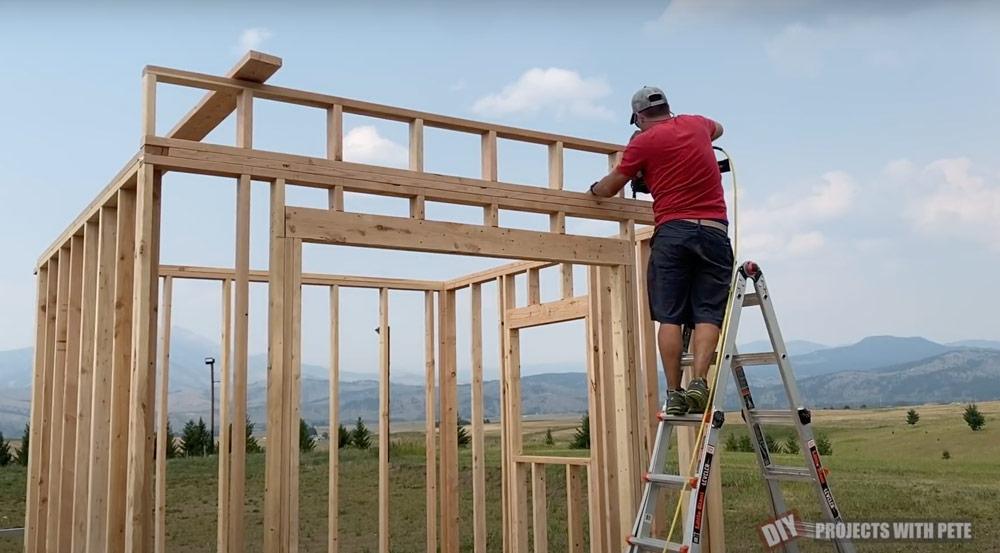
Begin by preparing the base. Level the ground where your shed will be placed and set your concrete blocks or other anchoring system for the base. These will firmly anchor your 4x4 posts, which will form the foundation of your lean-to. Next, construct the frame. Attach the 2x4s to the posts, ensuring squareness and stability. This creates the skeleton of your lean-to. Now, add the roofing supports â€" these rafters should be properly spaced and securely attached to the frame to support the weight of the roofing material. Finally, install the roofing, carefully overlapping the shingles to ensure a weathertight seal. You can add optional walls using plywood or OSB for extra privacy and storage.
Finishing Touches and Considerations
Once the construction is complete, consider adding a simple door for easy access. This can be as simple as a framed opening covered with plywood and hinges. Think about adding weather stripping around the door and along the base to prevent drafts and moisture. Painting the shed adds both aesthetic appeal and protection from the elements. A coat of exterior-grade paint or stain will significantly extend the life of your lean-to. Remember to regularly inspect your shed for any signs of wear and tear and address them promptly to maintain its structural integrity. With a little care and maintenance, your DIY lean-to shed will provide years of reliable storage.
No comments:
Post a Comment