Thursday, November 7, 2024
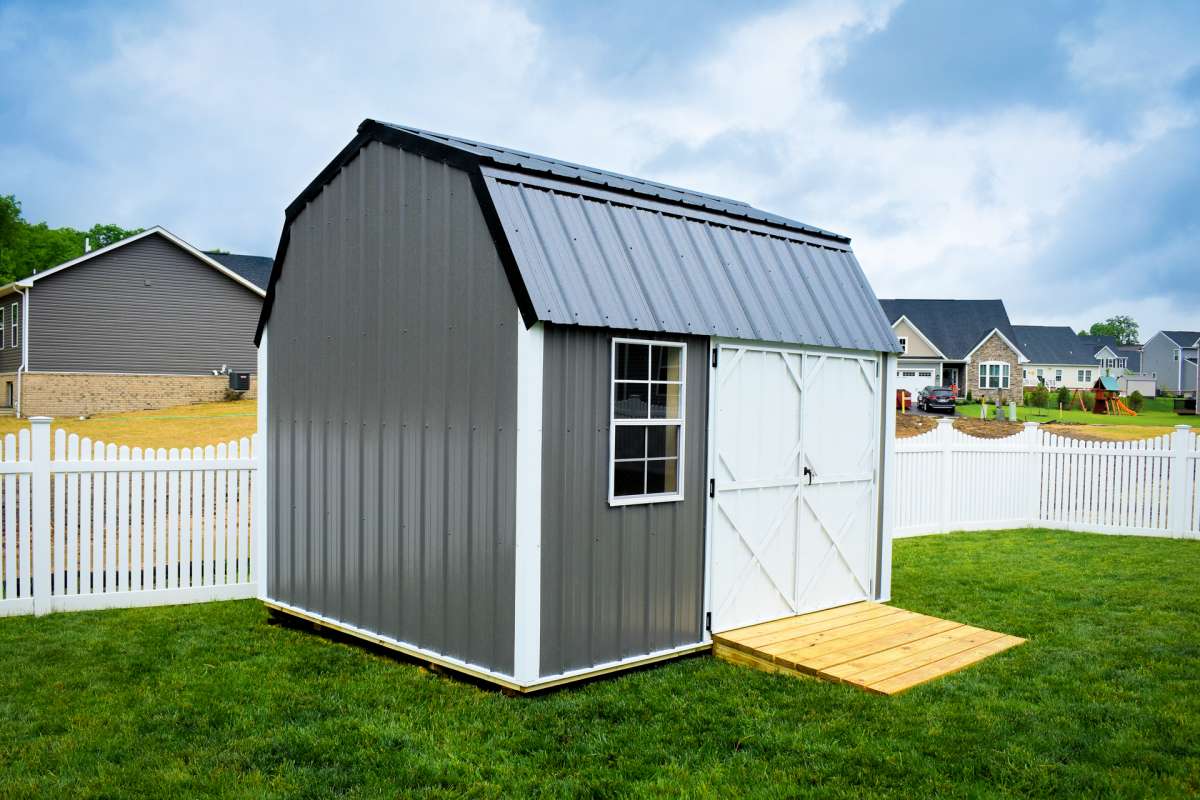
How to design and build a 10x12 garden shed

Alright, so you've finally decided to tackle that garden shed project you've been dreaming about. A place to stash the tools, keep the lawnmower out of the weather, maybe even set up a little potting station â€" it's gonna be awesome!
But where to start? Don't worry, we'll walk through the whole process, from planning to the final nail. This is your guide to building a 10x12 garden shed that you'll be proud of.
1. The Plan: More Than Just a Sketch
First things first, you need a plan. This isn't just scribbling "shed" on a napkin, folks. It's about figuring out the details that make your shed unique:
Location, Location, Location: Where on your property will your shed live? Consider sunlight, drainage, access, and any potential obstructions.
Foundation First: What type of foundation are you going for? Concrete is sturdy but requires a bit more work. A gravel pad is easier and cheaper, but might not be ideal for heavy loads.
Style and Features: Do you want a classic gable roof or something more modern? Will you have windows for light and ventilation? Do you need a door big enough for a riding mower?
Materials Matter: Think about the look you're going for. Wood is traditional and charming. Metal siding is durable and low-maintenance. Consider budget and your skills when making this choice.
The Details: This is where the fun comes in! Plan for storage shelves, workbench space, maybe even a small window seat for a peaceful moment in your garden haven.
2. Gathering the Materials:
Now comes the fun part, shopping! Make sure you have a detailed list to avoid ending up with a pile of lumber and no screws. Here's what you'll typically need:
Lumber: Consider pressure-treated lumber for the foundation and floor joists for extra durability.
Framing Lumber: 2x4s and 2x6s are the backbone of your shed.
Sheathing: Plywood or OSB will give your walls and roof structure.
Siding: Wood, vinyl, metal â€" choose the style that suits your vision.
Roofing: Shingles, metal, or even a green roof â€" the options are vast!
Doors and Windows: Measure carefully to ensure a perfect fit!
Hardware: Screws, nails, hinges, handles, and all the little bits that make your shed work.
3. Foundation Fundamentals:
Concrete: Dig out the area, pour a leveled concrete pad, and let it cure completely before you start building.
Gravel Pad: Level the ground, lay down a layer of gravel, then compact it for a sturdy base.
Wooden Frame: If you're going for a budget-friendly option, you can build a wooden frame foundation. Treat the wood with preservatives to prevent rot.
4. Framing the Walls and Roof:
Wall Framing: Cut and assemble wall frames using your chosen lumber. Make sure the framing is plumb and square.
Roof Framing: Construct the roof trusses or rafters according to your chosen design. Gable roofs are the most common for garden sheds.
Sheathing: Attach plywood or OSB sheathing to the walls and roof for added strength and a smooth surface for siding and roofing.
5. Siding and Roofing:
Siding: Install your chosen siding, following the manufacturer's instructions. This can be a great time to add trim for a more polished look.
Roofing: Install the roofing material, ensuring it's watertight and securely attached.
6. Doors and Windows:
Measure Twice, Cut Once: This is critical! You don't want to end up with a mismatched door!
Install Doors: Follow the instructions carefully, making sure they're properly aligned and secure.
Install Windows: Same deal as doors. Secure them well to keep out the elements.
7. Interior Work and Finishing Touches:
Floor: Install plywood subflooring, then add a layer of flooring of your choice.
Shelling: Consider adding insulation to the walls and roof for a warmer and more energy-efficient shed.
Electrical: If you plan on adding lights or outlets, hire an electrician to ensure everything is safe.
Painting: Give your shed a coat of paint to protect it from the elements and add a personal touch.
Finishing Touches: Add shelving, a workbench, and any other features you've planned.
8. Enjoy Your New Shed!
Congratulations! You've successfully built a 10x12 garden shed, a testament to your hard work and DIY skills. Now, go forth and fill it with all your gardening goodies.
Important Notes:
Safety First: Always wear safety gear, like gloves, goggles, and hearing protection when working with power tools and sharp objects.
Building Codes: Check with your local building department to make sure your shed meets all the necessary codes.
Don't Be Afraid to Ask for Help: If you're new to construction, don't be afraid to ask for help from a friend or a professional.
Remember, building a shed is a journey, not a race. Take your time, savor the process, and you'll be enjoying your new garden haven in no time!
No comments:
Post a Comment